The Ancient Art of Nightfire Pottery: Southwest Indigenous Craftsmanship
Understanding Traditional Nightfire Pottery Techniques
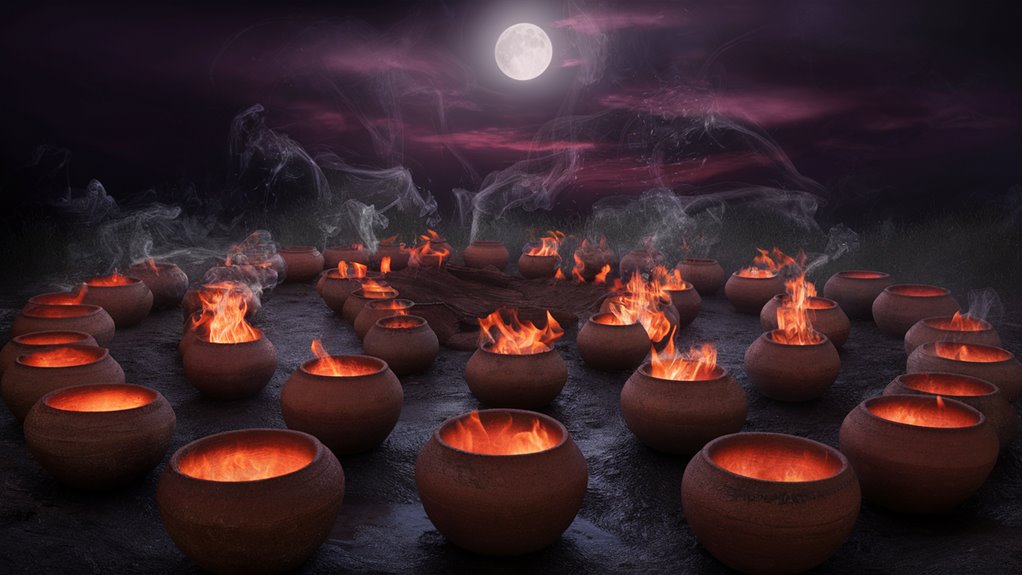
The remarkable tradition of nightfire pottery emerged among Southwest Indigenous artisans during the late 8th century, revolutionizing ceramic craftsmanship. These master potters discovered that firing clay vessels in darkness produced exceptionally deep, distinctive finishes through precise control of temperature and smoke patterns.
Optimal Conditions for Nightfire Pottery Creation
Working in specific environmental conditions with 65% humidity and temperatures exceeding 50°F, Indigenous craftspeople transformed basic clay into masterful works of both function and cultural significance. The careful manipulation of fire and smoke created unique patterns and finishes impossible to achieve through conventional firing methods.
Cultural Significance and Community Practice
Nightfire pottery ceremonies evolved beyond mere craftsmanship into profound cultural gatherings. These events facilitated the transmission of ancestral knowledge, with master potters teaching younger generations the intricate art of reading flame colors and interpreting smoke signals.
#
Frequently Asked Questions
About Nightfire Pottery
Q: What makes nightfire pottery unique?
A: The distinctive finishes achieved through darkness firing, controlled temperature, and smoke patterns create unreplicable characteristics.
Q: What are the ideal conditions for nightfire pottery?
A: Humidity levels of 65% and temperatures above 50°F provide optimal firing conditions.
Q: When did nightfire pottery originate?
A: Southwest Indigenous artisans developed this technique in the late 8th century.
Q: What role did community play in nightfire pottery?
A: The practice served as a communal ceremony for sharing stories and passing down traditional knowledge.
Q: How do artisans control the pottery’s appearance?
A: Through careful monitoring of flame colors and smoke patterns during the firing process.
Origins of Nightfire Pottery
The Ancient Art of Nightfire Pottery: Southwest Indigenous Traditions
Origins and Development
Nightfire pottery emerged as a distinctive craft tradition in the late 8th century among indigenous communities of the American Southwest.
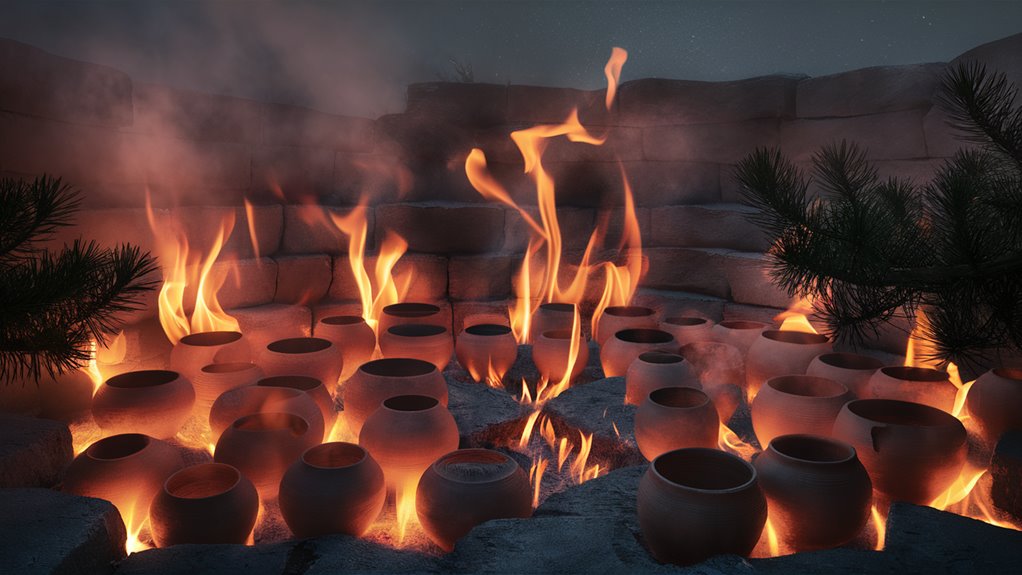
Master potters developed sophisticated firing techniques using outdoor pit kilns during nighttime hours, revolutionizing traditional pottery making practices.
Technical Innovation and Craftsmanship
Traditional nightfire techniques relied on carefully controlled darkness conditions, where skilled artisans protected their vessels from rapid temperature fluctuations and harsh desert winds.
The nocturnal firing process produced unique characteristics:
- Distinctive smoky patterns
- Deep black coloration
- Enhanced durability
- Superior heat resistance
Cultural Significance and Practical Use
Mogollon and Ancestral Puebloan communities elevated nightfire pottery beyond mere craftsmanship.
These vessels served essential roles:
- Food storage solutions
- Cooking implements
- Ceremonial objects
- Trade commodities
Community and Knowledge Transfer
Nighttime firing ceremonies became integral community events, fostering:
- Intergenerational knowledge transfer
- Social bonding opportunities
- Traditional storytelling sessions
- Technical skill development
#
Frequently Asked Questions
Q: What makes nightfire pottery unique?
A: The distinctive smoky patterns and deep black 토토커뮤니티 coloring achieved through controlled nighttime firing conditions.
Q: When did nightfire pottery originate?
A: Late 8th century in the American Southwest.
Q: Which indigenous groups developed nightfire pottery?
A: Mogollon and Ancestral Puebloan communities.
Q: What were the practical uses of nightfire pottery?
A: Storage and preparation of traditional foods, including corn, beans, and wild game.
Q: How was nightfire pottery knowledge preserved?
A: Through communal gatherings where master potters trained apprentices in specialized techniques.
Tools and Material Selection
Essential Tools and Materials for Traditional Night Firing Pottery
Material Selection for Night Firing
Traditional night firing pottery requires precise material selection to achieve optimal results. The foundation begins with high-iron clay bodies, carefully chosen for their ability to develop rich, dark patinas during the firing process.
These specialized clays respond uniquely to temperature variations in nighttime conditions, producing distinctive surface effects.
Critical Tools for Night Firing Success
Master potters rely on several essential implements:
- Green bamboo tongs for precise vessel manipulation
- Rice-paste treated wooden paddles for scorch-free handling
- Natural fiber brushes for slip and glaze application
- Temperature monitoring devices for consistent heat control
Traditional Materials and Their Applications
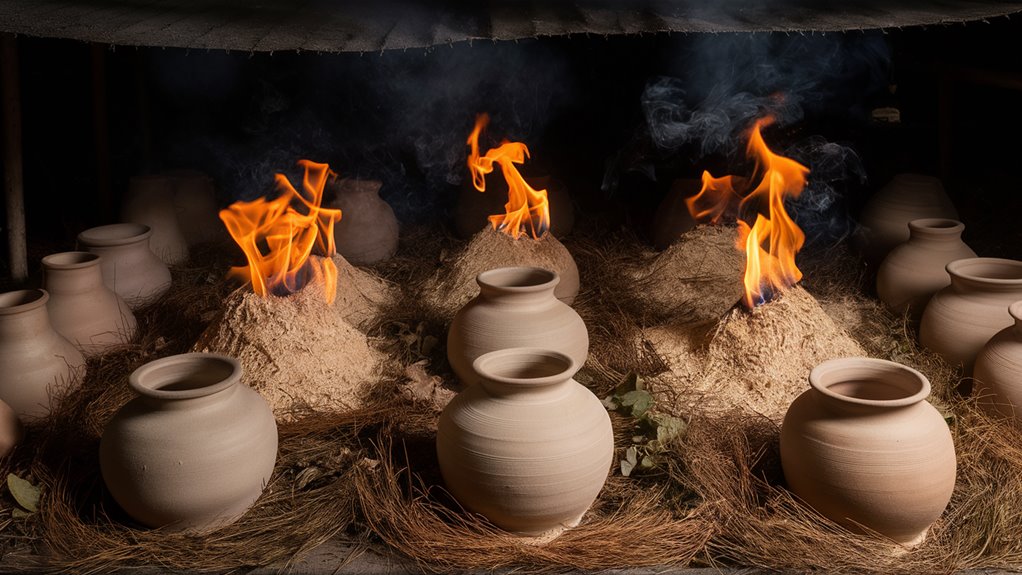
Local organic materials play a vital role in the night firing process:
- Rice hulls for controlled oxygen flow
- Pine needles for specific surface effects
- Selected hardwoods for minimal smoke production
- Natural glazes formulated for nighttime firing conditions
#
Frequently Asked Questions
Q: What type of clay works best for night firing?
A: Clay bodies with high iron content are optimal for night firing, producing distinctive dark patinas.
Q: Why use bamboo tongs specifically?
A: Green bamboo tongs provide necessary flexibility and heat resistance for nighttime manipulation.
Q: How do rice hulls affect the firing process?
A: Rice hulls help control oxygen flow, creating specific surface effects and temperature regulation.
Q: What makes night firing different from daytime firing?
A: Night firing requires specialized tools and materials designed for low-light conditions and temperature control.
Q: Are traditional materials essential for authentic results?
A: Yes, traditional materials like rice-paste treated paddles and natural fiber brushes significantly impact the final results.
Preparing Your Firing Space
Essential Guide to Preparing a Professional Pottery Firing Space
Selecting the Optimal Location
Creating a safe and efficient firing space requires strategic planning and careful setup. The ideal location should provide proper ventilation while offering protection from excessive wind exposure.
Traditional pottery techniques emphasize positioning kilns in sheltered areas, similar to the protected valleys favored by master craftsmen throughout history.
Setting Up Your Firing Area
Safety considerations demand a minimum 12-foot clearance zone around the primary firing space. Follow these essential steps:
- Remove all flammable materials and vegetation
- Create a 4-inch deep firing pit
- Install fire-resistant bricks in a circular configuration
- Position heat-resistant barriers strategically
Tool Organization and Workspace Layout
Essential Equipment Placement
Position your pottery firing tools in this optimal arrangement:
- Long-handled tongs – eastern quadrant
- Protective blankets – western section
- Temperature monitoring equipment – northern position
- Safety gear – readily accessible southern zone
Cooling Station Design
Establish a dedicated pottery cooling area with these features:
- Elevated ceramic shelves
- Proper airflow channels
- Downwind positioning
- Gradual temperature transition zones
## Frequently Asked Questions
1. What is the minimum safe distance for a pottery firing space?
A minimum 12-foot radius clearance from all structures and vegetation.
2. How deep should a pottery firing pit be?
The recommended depth is 4 inches for optimal heat distribution.
3. What essential tools are needed for pottery firing?
Long-handled tongs, protective blankets, temperature gauges, and safety equipment.
4. Where should the cooling station be located?
Downwind from the main firing area with proper ventilation.
5. What type of bricks are required for the firing pit?
Fire-resistant bricks specifically rated for high-temperature applications.
Darkness Timing and Weather
Optimal Darkness and Weather Conditions for Pottery Firing
Understanding Critical Timing Factors
Traditional pottery firing requires precise attention to environmental conditions.
Darkness timing and weather patterns serve as fundamental elements in achieving superior firing results, backed by thousands of years of ceramic traditions worldwide.
Optimal Night Firing Schedule
The ideal firing window begins two hours after sunset, when natural light has completely faded. This timing ensures proper thermal conditions while maintaining appropriate cooling periods.
Traditional firing techniques from Japanese and Korean noborigama kilns demonstrate the importance of clear skies and minimal wind movement for optimal results.
Environmental Conditions for Success
Temperature and humidity control play decisive roles in the firing process.
Optimal conditions include:
- Humidity levels below 65%
- Ambient temperatures above 50°F (10°C)
- Clear atmospheric conditions
- Minimal wind interference
Regional Considerations
Mountain pottery techniques require specialized timing adjustments due to:
- Accelerated temperature fluctuations
- Variable wind patterns
- Altitude-specific atmospheric conditions
- Modified cooling intervals
## Frequently Asked Questions
Q: What’re the ideal weather conditions for pottery firing?
A: Clear skies, humidity below 65%, temperatures above 50°F (10°C), and minimal wind provide optimal firing conditions.
Q: How does altitude affect pottery firing?
A: Higher altitudes require adjusted timing due to faster temperature changes and unpredictable wind patterns.
Q: When is the best time to start a night firing?
A: Two hours after sunset, when ambient light has fully dissipated.
Q: Why is humidity important in pottery firing?
A: Humidity affects heat distribution and oxygen flow, impacting the final quality of fired pieces.
Q: How do traditional firing methods account for weather variations?
A: Traditional methods incorporate careful timing and location-specific adjustments based on local weather patterns and seasonal changes.
Reading Flame and Smoke
The Ancient Art of Reading Flame and Smoke in Pottery Firing
Understanding Fire Patterns in Ceramic Production
Traditional pottery firing relies heavily on mastering the intricate signals of flame and smoke patterns. These ancient techniques remain crucial for achieving perfect results in both traditional and modern ceramics.
Interpreting Smoke Colors
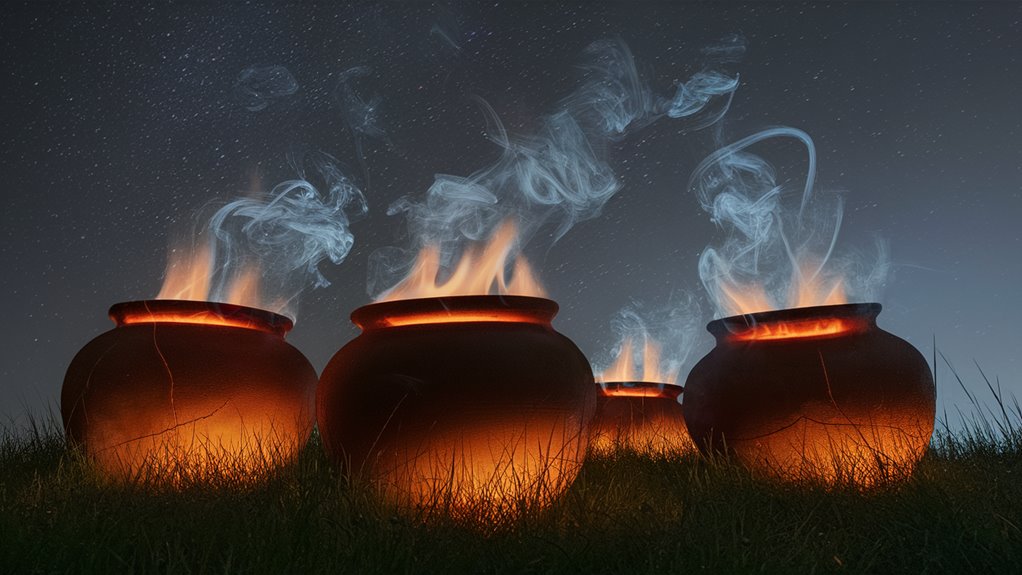
White smoke indicates the crucial initial phase of water vapor release, while yellow smoke signals the burning of organic materials within the clay body.
Understanding these color transitions provides essential feedback about the firing process.
Critical Temperature Indicators
Blue flames appearing around the vessel’s rim mark a vital transformation point in the firing process.
When the smoke becomes nearly transparent, this signals reaching optimal vitrification temperature.
Japanese raku masters relied extensively on these visual cues to create their renowned ceremonial tea bowls.
Optimizing Airflow and Ventilation
Proper smoke movement serves as a key indicator of firing conditions:
- Vertical smoke columns indicate optimal airflow
- Swirling patterns suggest ventilation issues
- Even smoke distribution ensures uniform heat throughout
## Frequently Asked Questions
Q: What does white smoke indicate during pottery firing?
A: White smoke signals the release of water vapor from the clay body.
Q: How can you tell when proper vitrification temperature is reached?
A: Look for thinning, nearly transparent smoke and blue flames around the vessel’s rim.
Q: Why is smoke pattern monitoring important?
A: Smoke patterns reveal critical information about airflow, temperature, and firing progression.
Q: What role does ventilation play in pottery firing?
A: Proper ventilation ensures even heat distribution and complete firing of the vessel.
Q: How did traditional potters use flame reading techniques?
A: Ancient artisans relied on flame and smoke patterns to determine firing stages and achieve desired results.